Ferrari Sticky Buttons: Causes, DIY Fixes, and Pro Repair
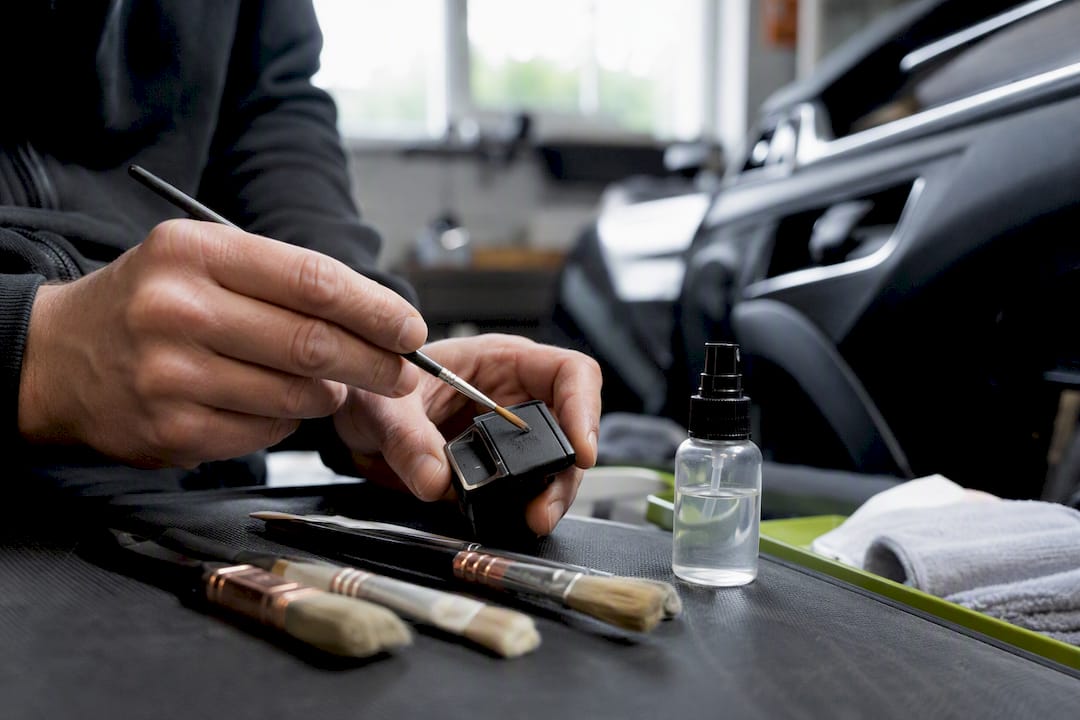
Sticky Ferrari buttons are almost always failed soft-touch coatings, not dirt or grime. Light cleaning can lift the goo, but on its own that’s a temporary fix, not a repair. A factory-quality, lasting result comes from stripping the panel to bare substrate and recoating it with a harder finish, then re-etching or reprinting any illuminated graphics.
Before you touch a single button, decide which lane you’re in:
- Test first: try a mild solvent on a small, hidden spot before committing to a full clean.
- Go carefully if you disassemble: photo-log every screw and clip before pulling panels for bench work.
- Send it out if graphics matter: illuminated switches with silk-screened or laser-etched markings are best left to a refinisher.
Key Takeaways
Sticky Ferrari buttons come from degraded soft-touch coatings, and only professional stripping and hard-touch recoating fixes the problem permanently.
| Point | Details |
|---|---|
| Identify the real cause | Plasticizer migration and hydrolysis break down soft-touch coatings, not surface dirt. |
| Start DIY conservatively | Test isopropyl alcohol on a hidden button before using Goo Gone or stronger solvents. |
| Expect a glossier finish | Cleaning removes coating locally, leaving a harder, shinier patch than surrounding soft-touch. |
| Protect illuminated graphics | Silk-screened or laser-etched markings need a refinisher’s laser re-etch, not solvent cleaning. |
| Source parts through Supercars.parts | Use the AI-driven marketplace search to find OEM or aftermarket switches and connect with refinishing shops. |
Table of Contents
- What Causes Ferrari Sticky Buttons?
- Do DIY Cleaning Methods Actually Work?
- How Do You Safely Remove Buttons for Bench Work?
- What Does Professional Refinishing Involve?
- How Much Does Fixing Sticky Buttons Cost?
- Frequently Asked Questions
- Sources
What Causes Ferrari Sticky Buttons?
Ferrari, along with plenty of other high-end automakers, coated interior switchgear in “soft-touch” paint to give buttons that plush, rubbery feel buyers associate with luxury. That coating sits over a base layer of paint and, on illuminated switches, over printed or etched graphics. Black soft-touch tends to cover ordinary buttons; clear soft-touch usually sits over graphics that light up at night, which is exactly why cleaning those particular buttons is trickier than cleaning a plain window switch.
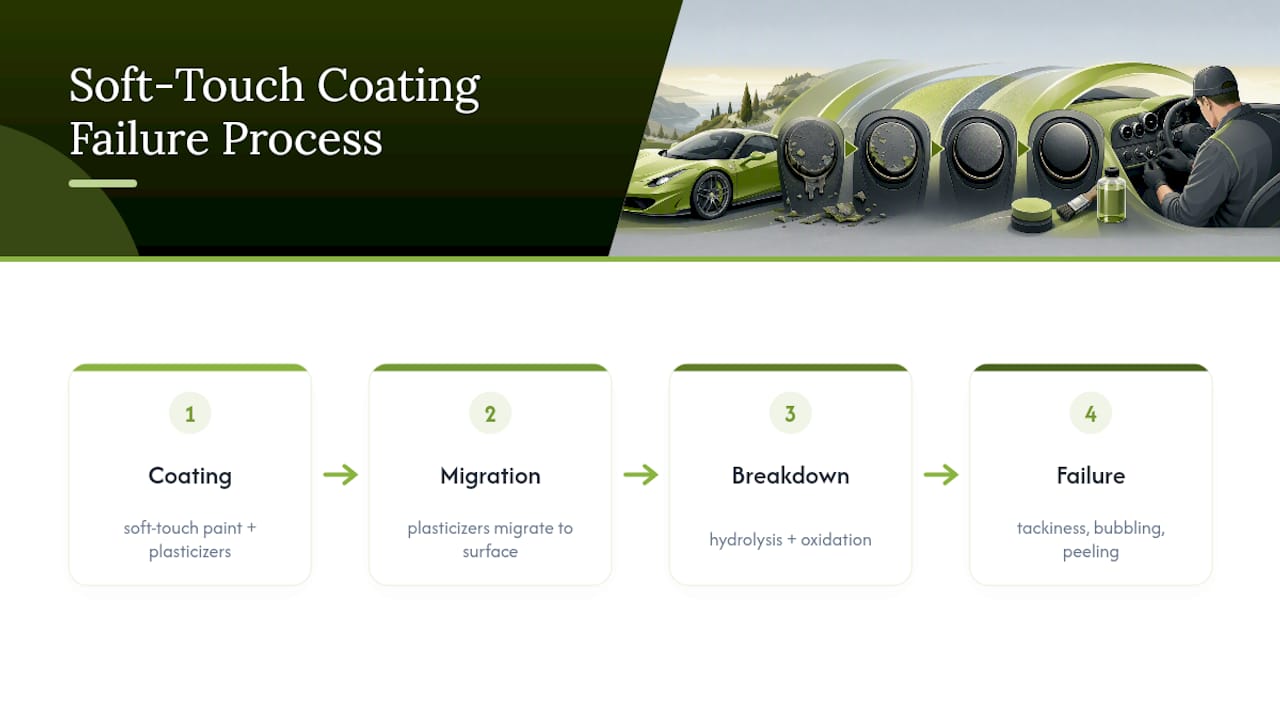
The chemistry behind the failure is plasticizer migration combined with hydrolysis and oxidation. Plasticizers keep the coating flexible, but over years they migrate to the surface and break down, especially under heat, humidity, and UV exposure. A car that lives in a garage in a temperate climate might keep buttons tack-free for a long time, while one exposed to consistent heat and humidity can show stickiness much sooner.
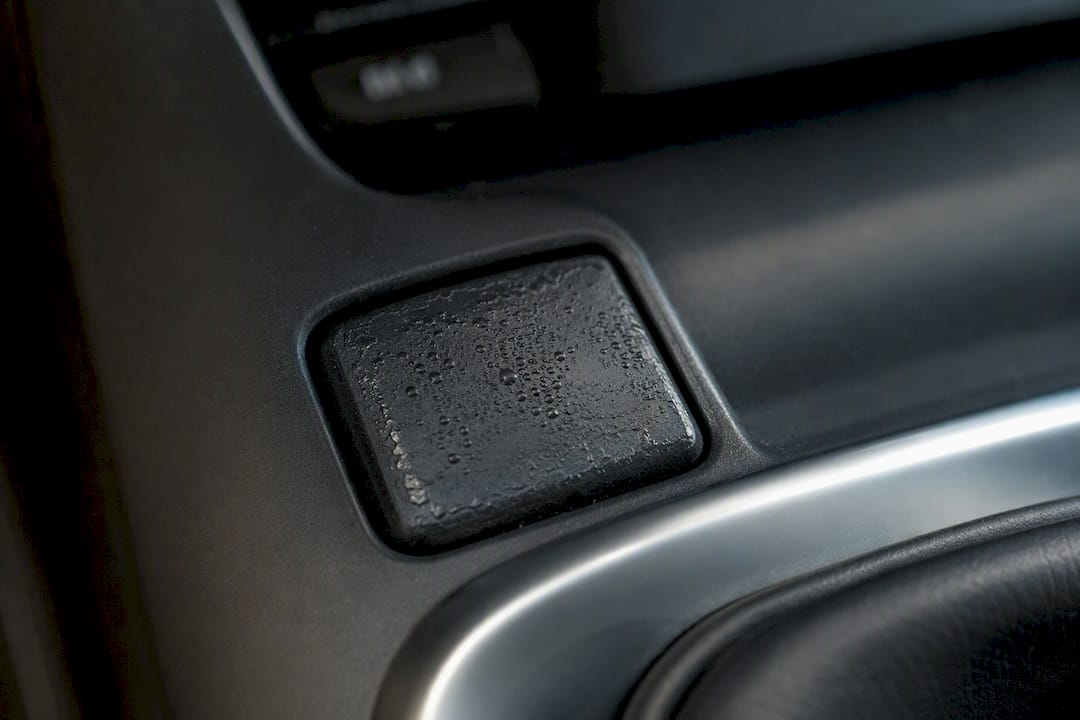
Bubbling, peeling, or a residue that comes back within days of cleaning usually means the failure has gone past the surface and into the coating’s bond with the substrate. At that point, no amount of wiping fixes it permanently.
Do DIY Cleaning Methods Actually Work?
They work well enough to buy you time, and forum reports back that up consistently. The FerrariChat community has documented dozens of DIY attempts, and a few methods show up again and again as the most reliable starting points.
- Isopropyl alcohol first. Use a 70 to 90 percent concentration on a microfiber cloth, applied in gentle circular motions rather than aggressive scrubbing. This is the least destructive option and the right place to start.
- Goo Gone Automotive for thicker residue. Spray it on, let it sit for a minute, then wipe. Owners frequently report needing two or three soak-and-wipe cycles rather than one pass, especially on buttons that have been sticky for a while.
- Test on a hidden button first. Try the cargo switch or a rarely used auxiliary button before working on something visible like the climate control panel.
- Skip straight to aggressive solvents only as a last resort. Oven cleaner shows up often in forum threads as a “nuclear option” that strips stubborn residue fast, but it also strips soft-touch coating entirely and can attack the base paint if left too long.
- Finish with a flat-clear spray if the base looks acceptable. Once the coating is gone in an area, a matte-restorer or flat-clear aerosol can rematch the sheen closely enough that most owners are satisfied.
Pro Tip: Work in short sessions and re-inspect between wipes. Community consensus on FerrariChat is clear that patient, repeated solvent cycles outperform a single hard scrub every time, and they’re far less likely to gouge the base paint underneath.
Expect alcohol-based cleaning to leave the treated area glossier and harder than the surrounding soft-touch. That’s the coating gone, not a flaw in your technique. It’s a fair trade for a button that no longer sticks to your fingertips, but it’s worth knowing before you start.
How Do You Safely Remove Buttons for Bench Work?
A single loose knob is a five-minute job. A full center stack with climate controls, hazard switches, and window controls wired into one harness is a different project entirely, and that’s where most DIY attempts go sideways.
- Photograph each step before removing anything, including screw locations and connector orientation.
- Label every screw and clip with masking tape or drop them into an indexed tray so nothing gets swapped on reassembly.
- Use a plastic trim pry tool, never a metal screwdriver, to separate panels from clips.
- Reconnect wiring harnesses gently and confirm each click before moving to the next connector.
Owners on FerrariChat consistently point to disassembly, not cleaning, as the part that eats up the most time. A few things worth keeping in mind before you start pulling trim:
- Small clips break easily on older interior plastics, so buy spares before you begin.
- Nearby leather or Alcantara trim can scuff from tool slips, so mask adjacent surfaces.
- If a panel resists after two connectors are free, stop and check for a third hidden fastener rather than forcing it, or consider professional exterior and interior care like a Ferrari Ceramic Coating in Los Angeles specialist who understands exotic car protection.
If you hit a panel with multiple ribbon connectors or backlighting wired through it, that’s the signal to box it up and send it to a specialist rather than risk a cracked connector you can’t source easily.
What Does Professional Refinishing Involve?
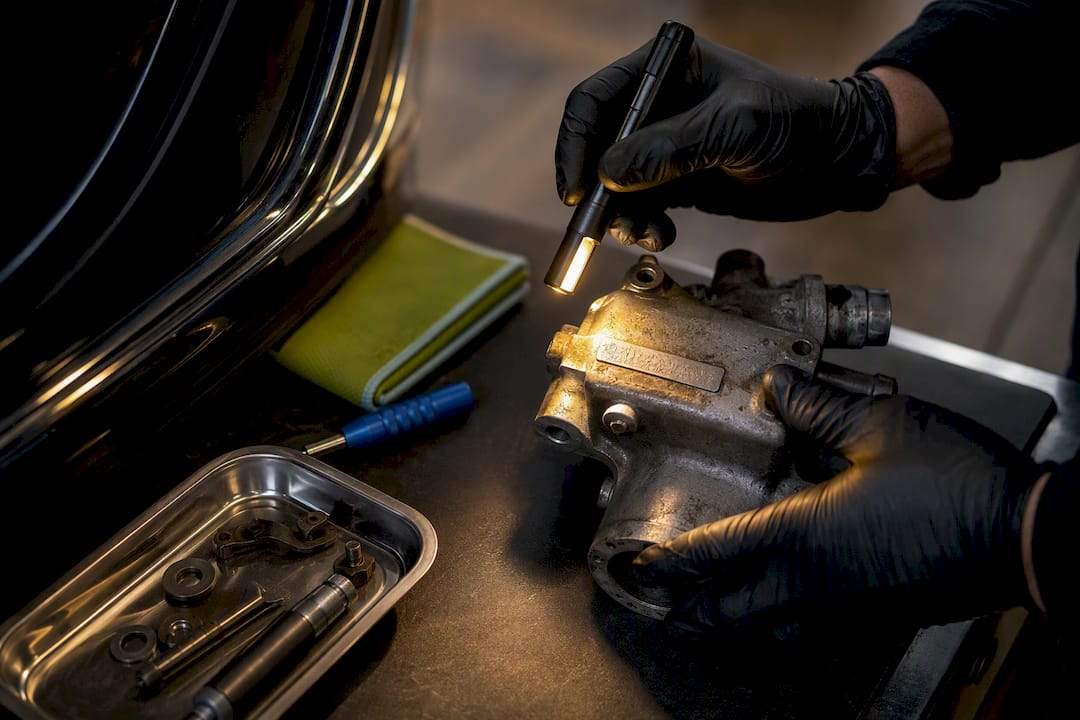
A refinisher’s process looks nothing like a detailing job. The panel comes off the car entirely, gets stripped down to bare substrate through controlled chemical or mechanical removal, then goes through prep work before any new coating touches it.
- Strip the failed soft-touch completely, rather than spot-treating problem areas.
- Prep the surface with micro-abrasion and an adhesion-promoting primer.
- Apply a mar-resistant hard-touch coating engineered to resist the plasticizer migration that killed the original finish.
- Laser-etch or pad-print graphics back onto the surface, calibrated so illumination still diffuses correctly through the switch.
Restorers who work on exotic interiors argue that a stripped, hard-touch recoat with laser-etched graphics outperforms even a brand-new OEM replacement part, because new OEM buttons are molded with the same soft-touch coating that failed the first time. You’re paying to install a part that will eventually get sticky again.
Replacement still makes sense when a button is cracked, a connector is damaged beyond repair, or the specific part simply isn’t available through OEM channels anymore. For everything else, hard-touch recoating tends to be the more durable path. If you’re trying to track down an OEM switch, a discontinued panel, or a specific part number to send out for refinishing, Supercars lists both OEM and aftermarket interior components across the exotic car world, searchable by model.
How Much Does Fixing Sticky Buttons Cost?
Costs scale with how far you’re willing to go, and the gap between the cheapest and most durable option is wide.
- DIY cleaning: under $30 in alcohol, Goo Gone, and microfiber cloths. Results last anywhere from a few months to a couple of years depending on climate and how much the coating had already degraded.
- Bench refinishing per button or small panel: turnaround typically runs a few days to a couple of weeks once a shop has the part in hand, since stripping and recoating requires curing time between stages.
- OEM replacement parts: priced per button or per panel, and you’re buying a part built with the same vulnerable soft-touch coating, so the clock resets rather than stops.
Climate does most of the heavy lifting on how fast the problem returns. A car garaged in a dry, moderate climate can go years longer between issues than one exposed to consistent heat and humidity, regardless of which fix you chose.
Tools and Materials Checklist
Gather these before starting, whether you’re doing a full DIY clean or prepping parts to ship to a refinisher:
- Cleaners: isopropyl alcohol (70 to 90 percent), Goo Gone Automotive, a mild plastic-safe degreaser as backup.
- Tools: a plastic trim pry set, small precision screwdrivers, a magnetic parts tray, masking tape, small paintbrushes for tight corners.
- Finishing supplies: flat-clear aerosol, matte-restorer, nitrile gloves, and a stack of microfiber cloths.
- Source hard-to-find OEM switches or replacement panels through Supercars if a part is cracked or missing outright.
What Can Go Wrong If You Clean Aggressively?
Solvents don’t discriminate between goo and graphics. A few consequences show up often enough in owner reports to flag clearly:
- Silk-screened legends and illumination layers can wipe away entirely once solvent breaks down the clear coat protecting them.
- Removing coating in one spot but not the panel next to it creates a visible gloss mismatch that’s hard to blend back in.
- Dealers and concours judges may flag a refinished or mismatched panel differently than a factory-original one during appraisal or resale.
- Some owners report new stickiness appearing after a service visit, likely from cleaning chemicals used elsewhere in the cabin migrating onto nearby soft-touch surfaces.
DIY Cleaning vs. Sending It to a Shop
I’d reach for isopropyl alcohol on a single, non-illuminated button with no urgency behind it. The moment graphics, backlighting, or a full center stack are involved, that’s a job for a refinisher who can laser-etch the markings back accurately, since a botched solvent pass on a lit switch is not something you undo with more alcohol.
Where Supercars.parts Fits Into Your Repair Plan
Whether you land on a DIY clean, a bench refinish, or a straight replacement, the bottleneck is usually finding the right part, not deciding what to do with it. Supercars.parts runs an AI-driven search across more than 365,000 listings, built specifically to track down model-year-specific interior components instead of forcing you through generic search terms and guesswork on eBay or parts forums.
Search by chassis code or part number and you’ll see OEM and aftermarket options side by side, along with sellers who can ship or point you toward refinishing shops that handle exotic interior work. If a professional detailer’s ceramic coating process on the exterior has you thinking about interior care too, the same attention to material science applies inside the cabin. Start your search on the Supercars with your model and the specific button or panel you need.
Frequently Asked Questions
Is cleaning Ferrari sticky buttons a permanent fix? No. Cleaning removes residue and often the coating itself, but the underlying soft-touch material that failed once will eventually fail again on untreated adjacent parts.
Can I use isopropyl alcohol on all Ferrari interior buttons? Test it on a hidden button first. Alcohol works well on plain black soft-touch but can affect clear coatings over illuminated graphics differently than expected.
Why do my Ferrari buttons keep getting sticky after cleaning? The soft-touch coating breaks down through plasticizer migration and hydrolysis, a chemical process that continues in unaffected areas even after you clean the sticky ones.
Should I replace or refinish sticky buttons? Refinishing with a hard-touch recoat usually lasts longer than replacement, since new OEM parts are molded with the same vulnerable soft-touch coating that failed originally.
How do I find a specific Ferrari interior part number? Search by model and part description on the Supercars marketplace, where AI-driven search helps match model-year-specific components across a large parts inventory.
Sources
For deeper technical detail, see the FerrariChat technical guide, the Flatirons Detailing explainer, and Sticky No More’s refinishing overview.